Finishing & Texturing
Drywall Finishing & Texturing in North Ridgeville, OH | 10+ Years Experience
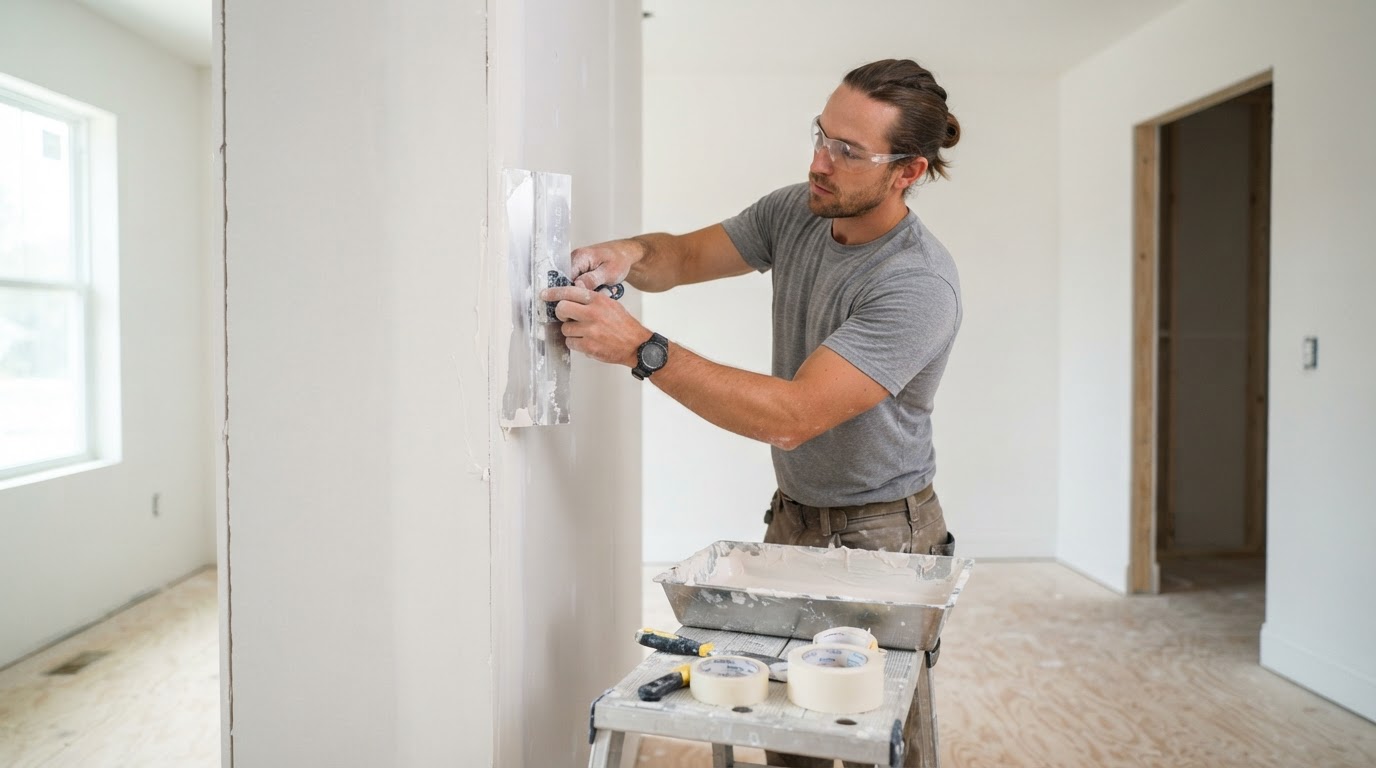
North Ridgeville Drywall Contractor provides drywall finishing, taping, mudding, skim coating, smooth finishes, and texture application or matching for North Ridgeville, Ohio and nearby communities. With 10+ years of hands-on drywall experience and insured service, finishing is the stage where raw gypsum panels and joints become a uniform, paint-ready surface.
Finishing uses paper joint tape, joint compound, setting compound, taping knives, mud pans, corner bead, and feathered coats to build a smooth plane over taped seams. Finish levels range from a standard Level 4 for most painted interiors to a Level 5 skim coat for critical lighting and high-sheen paint. Texture work — orange peel, knockdown, smooth, or matching an existing finish — follows where scoped. Call 440-482-8191 or use the form to request an estimate.
- 10+ Years Experience
- Insured
Request a Drywall Estimate
- 10+ Years Experience
- Insured
- North Ridgeville & Nearby
Why Choose North Ridgeville Drywall Contractor for Finishing & Texturing in North Ridgeville?
Choosing a drywall finishing contractor comes down to experience, surface quality, finish-level knowledge, and clear communication. North Ridgeville Drywall Contractor brings practical taping, skim coating, and texture-matching familiarity to each project, along with straightforward pricing and process steps from the first call through final walkthrough.
10+ Years of Finishing Experience
More than a decade of hands-on finishing work — from standard Level 4 residential walls to Level 5 skim coats under critical lighting — means recognizing how lighting, paint sheen, and wall condition affect the finish before the first coat goes on.
Insured Drywall Service
North Ridgeville Drywall Contractor is insured, giving property owners a layer of accountability when finishing work is performed inside an occupied home, rental, or commercial space.
Taping and Texture Expertise
Paper joint tape, joint compound, setting compound, taping knives, corner bead, feathered coats, skim coating, orange peel, knockdown, and texture matching are applied with familiarity — not guesswork — so finishes hold up under paint and lighting.
Transparent Pricing and Scope
Planning ranges are provided up front with clear notes on what drives cost — finish level, ceiling work, texture matching, critical-light surfaces, and prior surface condition — so you understand the estimate before committing.
Clear Finishing Process
Every project follows a defined path: inspect the substrate, protect the space, tape and treat corners, apply successive compound coats, feather, skim coat if scoped, sand and control dust, apply or match texture, and complete a final surface review.
North Ridgeville-Area Service
A service-area contractor familiar with North Ridgeville and nearby communities, with phone and form access for easy estimates. Availability depends on project location, scope, and scheduling.
Our Specialized Drywall Finishing & Texturing Services
Each finishing type below addresses a specific surface goal. Every option follows the same three-part approach: what and where the work applies, how it is done with real materials and tools, and the outcome you can expect.
Drywall Taping and Joint Finishing
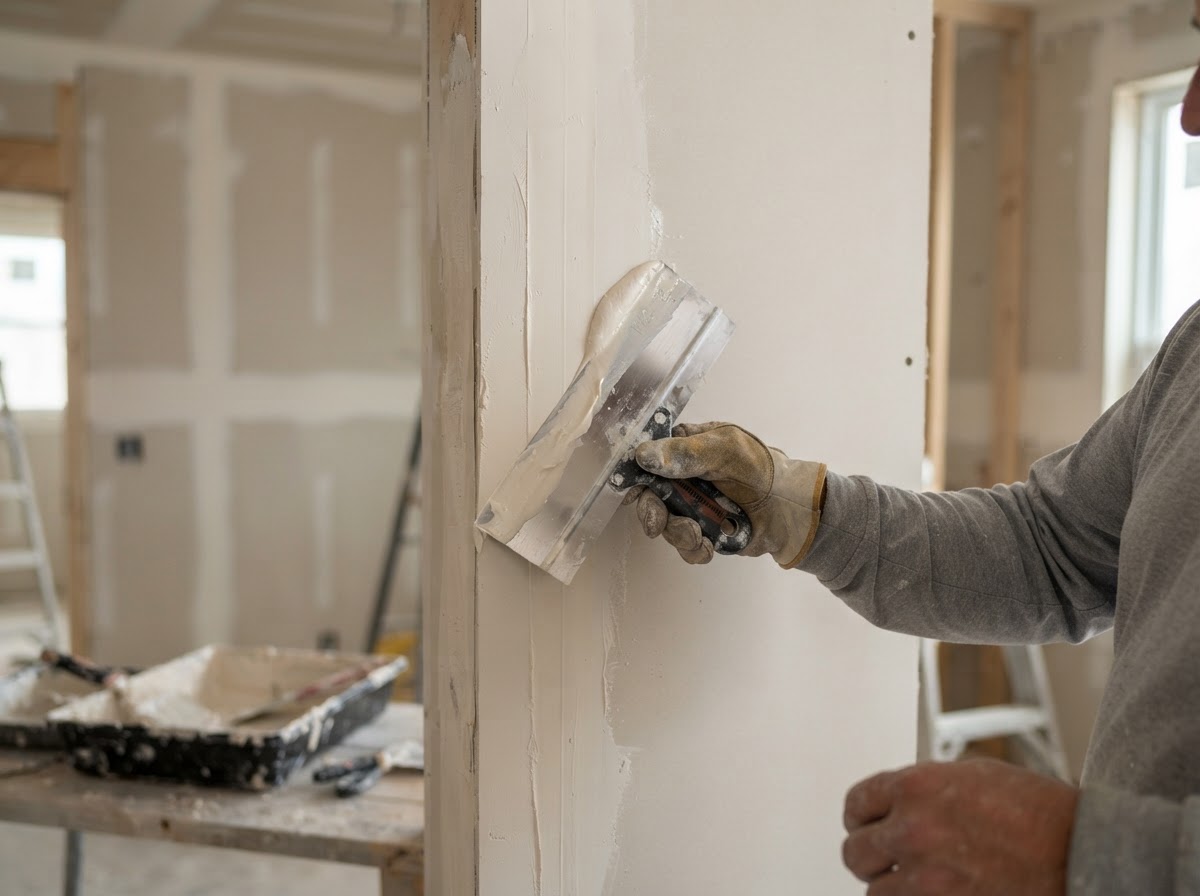
Drywall taping and joint finishing covers the process of sealing and smoothing the seams between gypsum panels in North Ridgeville interiors. This is the foundational stage of finishing, where raw joints and fasteners are covered to create a continuous surface.
Paper joint tape is bedded in joint compound over each seam, fasteners are covered with successive coats, and each coat is feathered wider than the last with taping knives. Setting compound may be used for the first coat to speed drying, and inside and outside corners receive corner bead treatment.
The outcome is a wall or ceiling with all joints, fasteners, and corners covered and feathered, creating a continuous surface ready for the final finish coats, sanding, and texture or smooth finish.
Learn more about Drywall Taping and Joint Finishing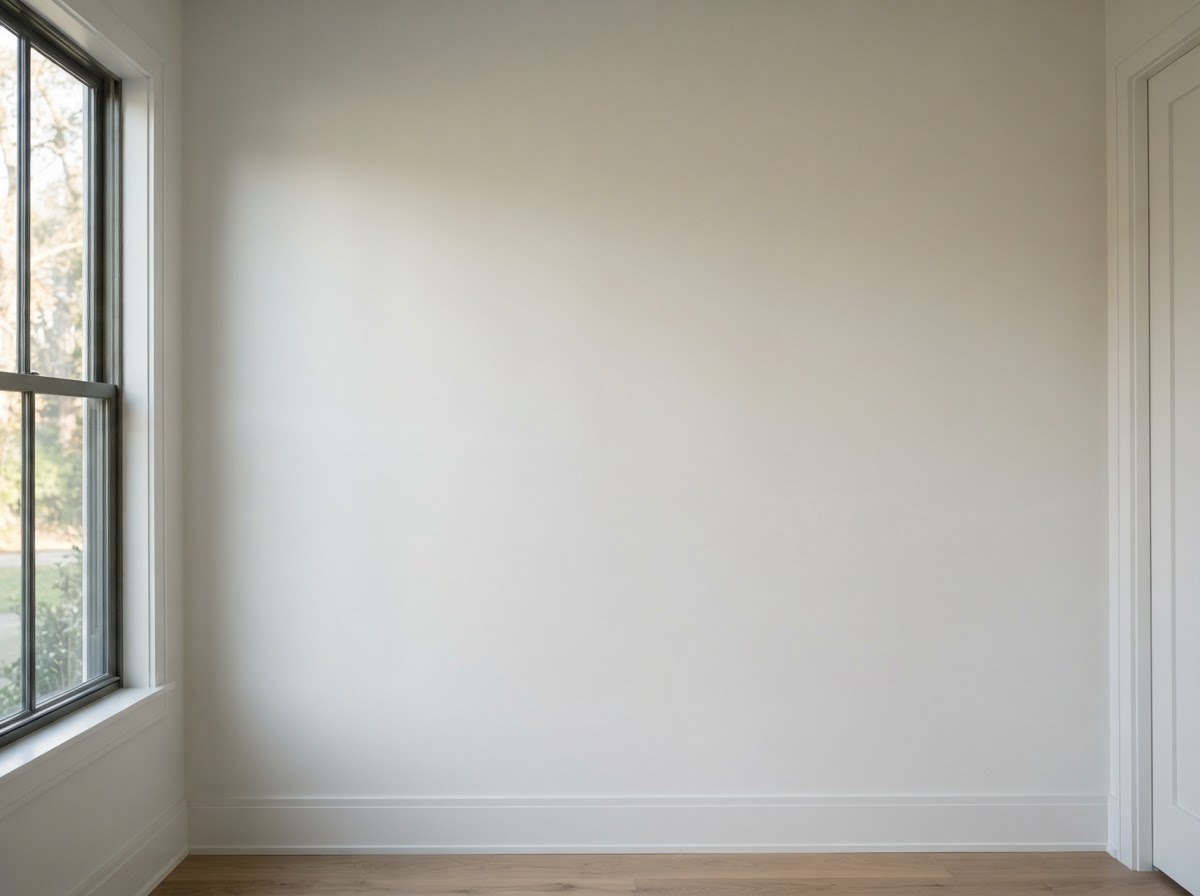
Smooth Drywall Finishing
Smooth drywall finishing produces a flat, texture-free surface suitable for modern paint finishes in North Ridgeville homes. A smooth finish is often chosen for contemporary interiors, high-sheen paints, or walls where a clean, uniform appearance is desired.
After taping and joint finishing, additional compound coats are feathered and sanded to eliminate joint ridges and fastener depressions. The surface is sanded smooth with dust-control practices, leaving a consistent plane that holds up under direct and side lighting.
The outcome is a smooth, uniform wall or ceiling ready for primer and paint, with no visible texture and a surface that performs well under a range of lighting and paint sheens.
Learn more about Smooth Drywall FinishingLevel 4 Finish
A Level 4 finish is the standard residential drywall finish for most painted interiors in North Ridgeville. It features taped and feathered joints, covered fasteners, and sanded corners, providing a uniform surface suitable for flat, eggshell, and most satin paints.
Joint compound is applied in three successive coats over paper tape — a tape coat, a fill coat, and a finish coat — each feathered wider than the last. Corners are treated with corner bead, and the surface is sanded smooth with dust-control practices to remove ridges and tool marks.
The outcome is a clean, standard residential finish that performs well under normal lighting and paint sheens, without the additional labor of a full skim coat across the entire surface.
Learn more about Level 4 Finish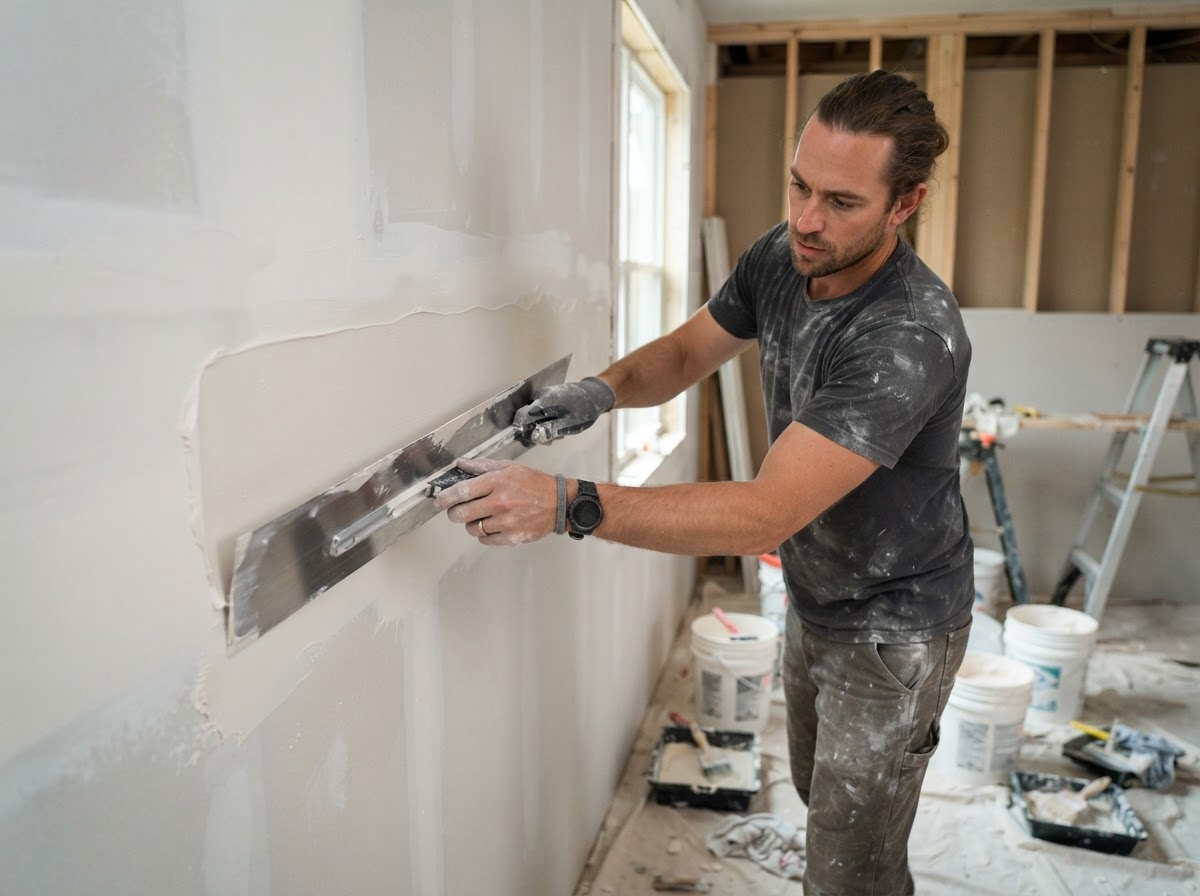
Level 5 Finish and Skim Coating
A Level 5 finish applies a skim coat of joint compound across the entire surface over standard Level 4 finishing, improving uniformity especially under critical lighting, high-sheen coatings, or where wall condition makes standard finishing show imperfections. It is the highest standard of drywall finish.
After taped joints are feathered and sanded, a thin skim coat is spread across the full wall or ceiling with a wide trowel or knife, then sanded to a smooth, consistent plane. This process adds labor and material but produces a surface where joints and fasteners do not telegraph through glossier paints or raking side light.
The outcome is a uniformly smooth surface that holds up under demanding lighting and paint sheens — chosen based on lighting, paint sheen, wall condition, and the desired appearance, not because every project requires it.
Learn more about Level 5 Finish and Skim Coating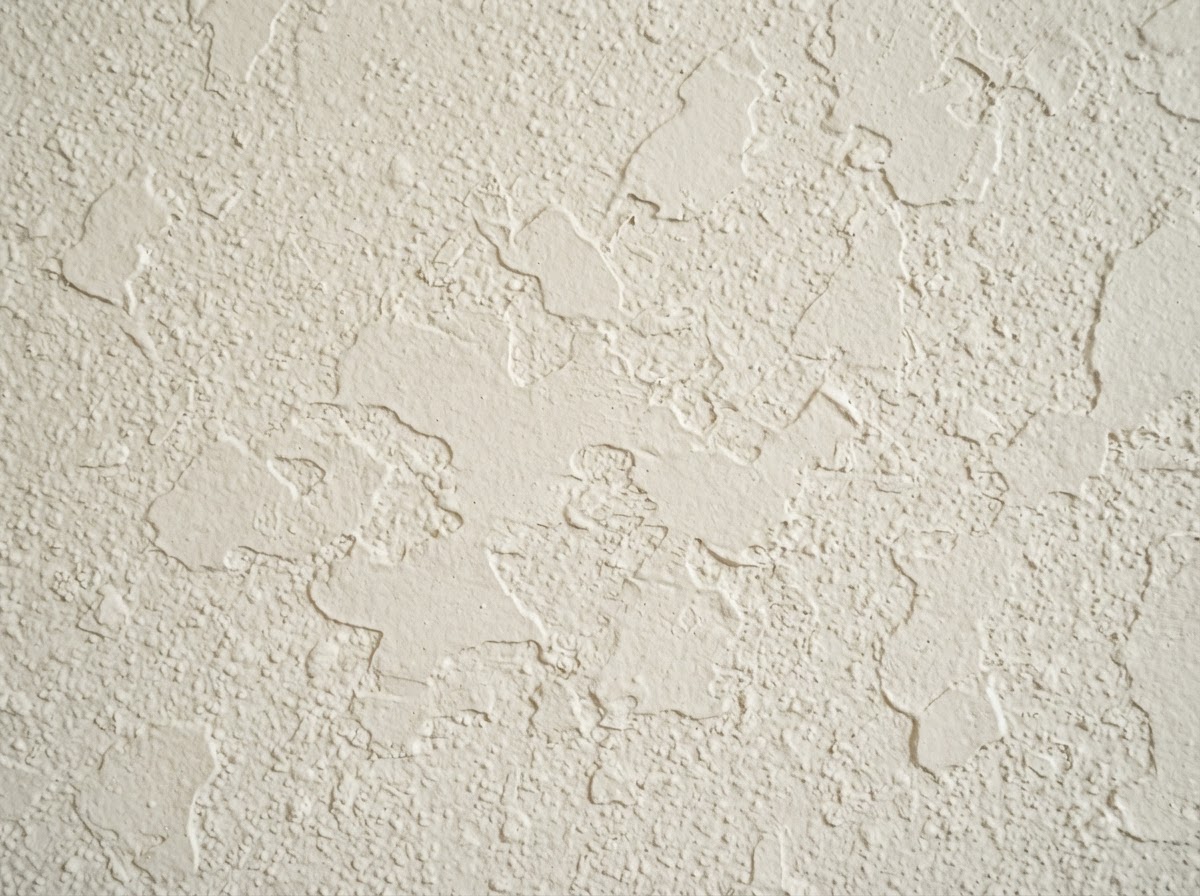
Orange-Peel Texture
Orange-peel texture is a fine splatter texture applied to drywall walls and ceilings in North Ridgeville properties. It adds a subtle, consistent pattern that helps conceal minor surface variations and is common in many residential interiors.
Joint compound is thinned to a specific consistency and sprayed onto the surface with a hopper gun or texture sprayer, creating a fine, even splatter. The texture is allowed to set, and the surface is ready for primer and paint once dry.
The outcome is a wall or ceiling with a consistent, fine texture that hides minor imperfections and provides a uniform appearance under normal lighting and paint.
See drywall texturingKnockdown Texture
Knockdown texture is a splatter-and-flatten texture applied to drywall walls and ceilings in North Ridgeville properties. It creates a pattern of flattened compound peaks that adds visual depth and helps conceal surface variations.
Joint compound is sprayed onto the surface as a splatter, then — after a brief set time — a taping knife or knockdown knife is drawn across the surface to flatten the peaks, creating the characteristic mottled pattern. The surface is then sanded lightly and prepared for paint.
The outcome is a wall or ceiling with a textured, dimensional finish that hides imperfections and provides a distinctive appearance common in many homes.
See drywall texturing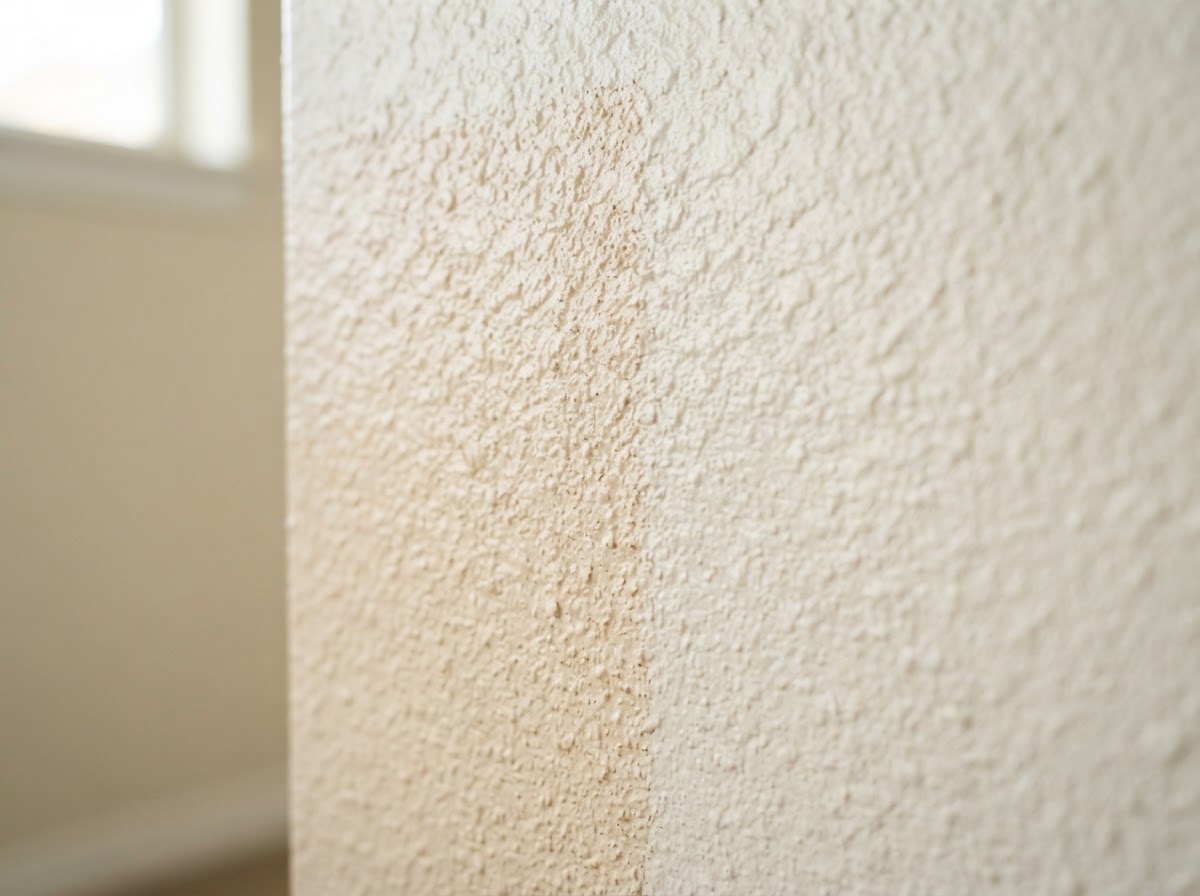
Existing Texture Matching
Existing texture matching addresses the need to blend a repaired or new drywall area into the surrounding surface in North Ridgeville properties. When a patch sits in the middle of a textured wall or ceiling, the finish around it needs to match rather than stand out.
The existing texture is evaluated for its application method, compound consistency, and pattern, then joint compound is applied and manipulated — sprayed, troweled, or knifed — to approximate the original. Exact matching depends on the original application, paint layers, age, prior repairs, and how light hits the surface.
The outcome is a repaired area where the texture transition is minimized, so the patch reads as part of the surrounding wall or ceiling rather than a visible, distinct rectangle.
See drywall texturingCommon Reasons Drywall Finishing & Texturing Is Needed
New Drywall Needs Finish
Freshly hung drywall has raw joints, exposed fasteners, and untreated corners that must be taped, coated, and sanded before the surface is paint-ready. Finishing is the required stage that turns installed panels into a complete wall or ceiling.
Visible Seams
Visible joint ridges, fastener depressions, or seam lines that show through paint indicate the finishing needs additional coats or sanding. Re-taping and additional feathered compound can eliminate the visible joints and create a uniform surface.
Poor Prior Repairs
A past repair that left a visible patch, a texture mismatch, or a halo around the patched area indicates the finish was not fully blended. Re-finishing the transition with additional compound and texture matching can make the repair disappear.
Texture Mismatch After a Patch
When a repair sits in a textured wall or ceiling, the finish around the patch needs to match the existing texture. A mismatch creates a visible rectangle that stands out against the surrounding surface and should be addressed with texture matching.
Critical Lighting Reveals Surface Irregularity
Raking side light from windows or high-sheen paint can reveal surface irregularities — joint ridges, fastener spots, or uneven skim coat — that are invisible under normal lighting. A Level 5 skim coat across the surface addresses these under demanding conditions.
Changing Texture Appearance
Updating a ceiling from popcorn to smooth, or changing a wall texture, involves removing or covering the existing finish and applying a new one. This may include substrate repair, skim coating, and a fresh texture or smooth finish.
Signs You Need Drywall Finishing or Texturing in North Ridgeville
Visible Joint Ridges
Ridges or bumps along seam lines that show through paint indicate the joints were not fully feathered or sanded. Additional compound coats and sanding can eliminate the ridges and create a smooth, uniform surface.
Uneven Skim Coat
A skim coat that is uneven — with thick spots, thin spots, or trowel marks — creates visible irregularities under lighting. Re-skimming and sanding the surface restores the uniform plane that a Level 5 finish requires.
Patch Halo
A visible ring or halo around a past patch — where the patched area meets the surrounding wall — indicates the finish was not fully blended. Re-finishing the transition with additional compound and texture matching can make the patch disappear.
Texture Transition
A visible line or rectangle where a repair's texture meets the existing surface indicates a texture mismatch. Matching the existing texture around the patch minimizes the transition so the repair reads as part of the surrounding wall.
Corner Irregularity
A corner that is not straight, has a visible bead line, or shows compound buildup indicates the corner treatment needs correction. Re-treating the corner with bead and feathered compound restores a crisp, clean angle.
Surface Imperfections Under Side Lighting
Imperfections — fastener spots, joint lines, or uneven areas — that appear only under raking side light or high-sheen paint indicate the finish needs additional coats or a skim coat to perform under demanding conditions.
Our Drywall Finishing & Texturing Process
Inspect Substrate and Joints
The drywall surface is inspected for proper fastening, joint alignment, and corner condition before finishing begins. Any loose fasteners or misaligned joints are addressed so the finish builds on a sound substrate.
Protect the Space
Floors, furniture, and adjacent areas are covered before finishing begins. Dust management practices and work-area isolation are especially important during the sanding stage, which generates fine compound dust.
Tape and Corner Treatment
Paper joint tape is bedded in compound over each seam, fasteners are covered, and inside and outside corners receive corner bead treatment. Setting compound may be used for the first coat to speed drying between stages.
Successive Compound Coats
Joint compound is applied in successive coats — a tape coat, a fill coat, and a finish coat — each feathered wider than the last with taping knives. Each coat is allowed to dry before the next is applied, building a smooth, uniform surface over the joints.
Skim Coating if Scoped
Where a Level 5 finish is scoped, a thin skim coat of compound is spread across the entire surface with a wide trowel or knife, then sanded to a smooth, consistent plane. This adds labor but produces a surface that holds up under critical lighting and high-sheen paint.
Sand and Control Dust
The feathered and skimmed surface is sanded smooth with dust-control practices — sanding poles with dust-collection attachments, localized isolation, and cleanup as the work proceeds. The goal is a consistent plane free of ridges, tool marks, and fastener depressions.
Apply or Match Texture
Where texture is scoped, joint compound is thinned and applied — orange peel via a hopper gun, knockdown via splatter and flattening, or smooth with no texture. Matching an existing texture involves evaluating the original application and approximating the pattern.
Final Surface Review
The finished surface is reviewed under lighting for uniformity, the work area is cleaned up, and a final walkthrough gives you a chance to see the completed finish before the project is closed out.
How Much Does Drywall Finishing & Texturing Cost in North Ridgeville?
Drywall finishing and texturing pricing in North Ridgeville varies mainly with finish level, ceiling work, texture matching, critical-light surfaces, room geometry, and prior surface condition. The ranges below are typical planning ranges, not binding quotes.
Localized finishing or texture correction: about $300–$900+
Notes: Affected area, finish level, texture matching, ceiling work, and prior surface condition affect where a specific project falls within this repair-scale range.
New drywall installation and finishing: commonly about $1.50–$3.50+ per square foot
Notes: Board type, room layout, ceiling height, finish level, access, and project size affect the final estimate for many straightforward residential scopes.
These are typical planning ranges, not guaranteed local quotes. Actual estimates are confirmed after evaluating the project on site.
Planning Drywall Finishing or Texture Work?
Whether you need new drywall finished, an existing texture matched, or a smooth Level 5 surface, request an estimate and a drywall contractor will follow up to discuss scope, finish level, and scheduling. Call 440-482-8191 or submit the form.
Call 440-482-8191- 10+ Years Experience
- Insured
- North Ridgeville & Nearby
Request a Drywall Estimate
- 10+ Years Experience
- Insured
- North Ridgeville & Nearby
Frequently Asked Questions About Drywall Finishing & Texturing
How much does drywall finishing cost in North Ridgeville?
Localized drywall finishing or texture correction in North Ridgeville commonly costs about $300–$900 or more as a planning range, while new drywall installation and finishing commonly costs about $1.50–$3.50+ per square foot. Finish level, ceiling work, texture matching, critical-light surfaces, and prior surface condition all affect the final estimate.
What is the difference between Level 4 and Level 5 drywall?
A Level 4 finish is the standard residential finish with taped and feathered joints sanded smooth, suitable for most flat and eggshell paints. A Level 5 finish adds a skim coat across the entire surface to improve uniformity, especially under critical lighting, high-sheen coatings, or where wall condition makes standard finishing show imperfections.
Does Level 5 drywall always look better?
Level 5 drywall does not always look better — under normal lighting and standard paint sheens, a Level 4 finish performs well and a Level 5 skim coat adds labor without a visible benefit. Level 5 is chosen based on critical lighting, high-sheen paint, wall condition, and the desired appearance, not because every project requires it.
Can you match orange-peel texture?
Orange-peel texture can often be matched, but the exact visual result depends on the original application method, compound consistency, paint layers, age of the surface, prior repairs, and how light hits the wall. The goal is a close blend that minimizes the visible transition between the patched area and the surrounding surface.
Can you match knockdown texture?
Knockdown texture can often be matched by spraying a splatter of thinned joint compound and flattening the peaks with a knife to approximate the original pattern. The exact result depends on the original application, paint layers, age, and lighting, so the goal is a close blend rather than a guaranteed identical match.
Can a poorly finished drywall repair be skim coated?
Yes, a poorly finished drywall repair — one with visible patch halos, texture mismatch, or surface irregularities — can be skim coated to create a uniform surface. A thin coat of compound is spread across the area, sanded smooth, and re-textured or left smooth to blend with the surrounding finish.
How many coats of joint compound are normally needed?
A standard Level 4 finish normally requires three coats of joint compound over taped seams — a tape coat that beds the tape, a fill coat that covers it, and a finish coat that feathers the joint smooth. Fasteners and corners receive their own coats, and a Level 5 finish adds a full skim coat across the entire surface.
How long does drywall finishing take?
Drywall finishing time depends on the project size, finish level, drying stages between compound coats, and whether texture or skim coating is involved. Each coat needs to dry before the next is applied — standard joint compound typically overnight, setting compound faster — so a single room may take a few days and larger projects take longer.
Related Drywall Finishing & Texturing Services
Request Drywall Finishing & Texturing in North Ridgeville
The next step is simple: call 440-482-8191 or submit the form with your name, phone, email, project address, and the service you need. A contractor will follow up to discuss scope, finish expectations, and scheduling for your North Ridgeville property.
Call 440-482-8191- 10+ Years Experience
- Insured
Request a Drywall Estimate
- 10+ Years Experience
- Insured
- North Ridgeville & Nearby